So I have been neglecting this blog for quite some time now.
Trying to get pregnant has been put on hold. We stopped "trying" about 5 months ago or so. Now we are just going back to how it was before we started trying. Is there a chance I could get pregnant still? Sure, but it would be a MIRACLE if that happened!
Right now we are focusing more on loosing weight. I will post a couple pictures showing how far we have come. We are just about half way to where we want to be. Well for me a little more than half way, and for my husband a little less than half way.


In March I sprained my ankle SO SO SO bad. And I was laid up for quite a few weeks. Its still not 100% but I would say its maybe 75-85%. lol. I wonder if it will ever go back to normal. We have been focusing on eating healthier and working out. We have enjoyed walking/jogging our track in the backyard (4.5 times around is a mile, so we do anywhere from 2-3 miles a day) and I have been enjoying including some workout DVDs as well. We were doing great, thennnn in June we went on a little trip, I got out of my routine and have struggled getting back into it. But I will. This journey is a bunch of peaks and valleys. It wont be a straight shot. And thats fine. It took me a long time to gain the weight, its not going to go away in just a couple months. I actually don't know how much weight I have lost because we don't have a scale. But thats ok, its less pressure I think. Eventually we will buy one, but for now I just want to focus on making this a LIFESTYLE change, regardless of what the scale says.
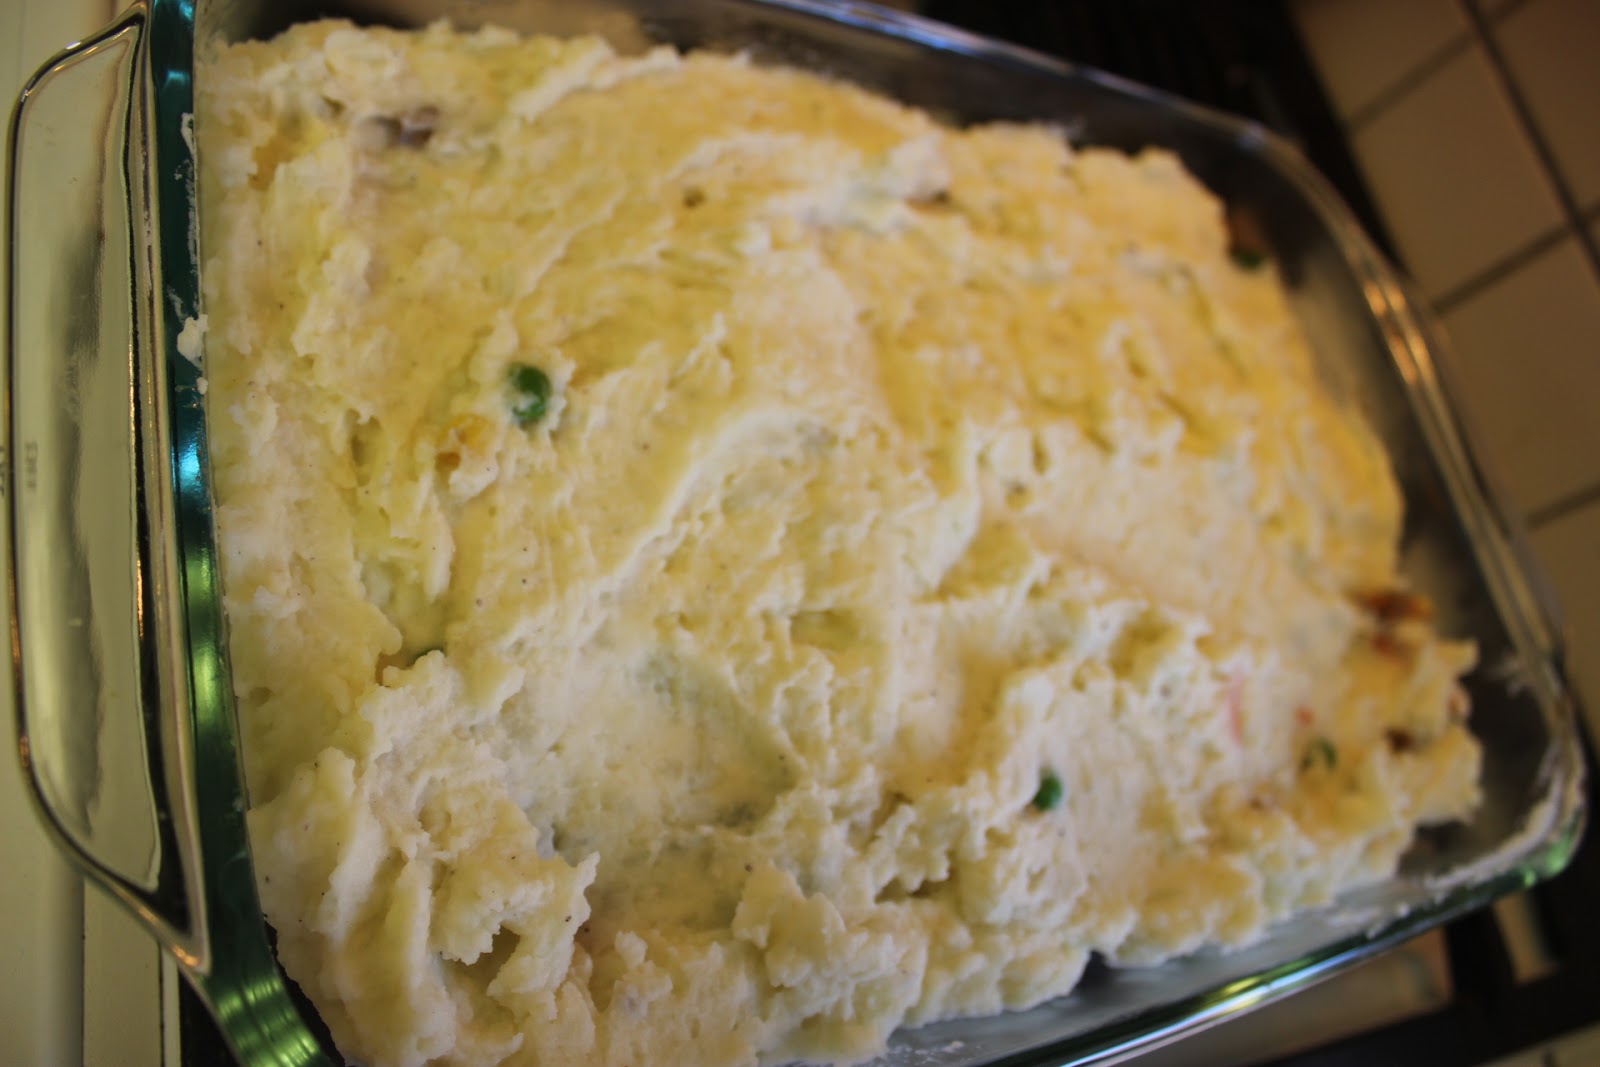
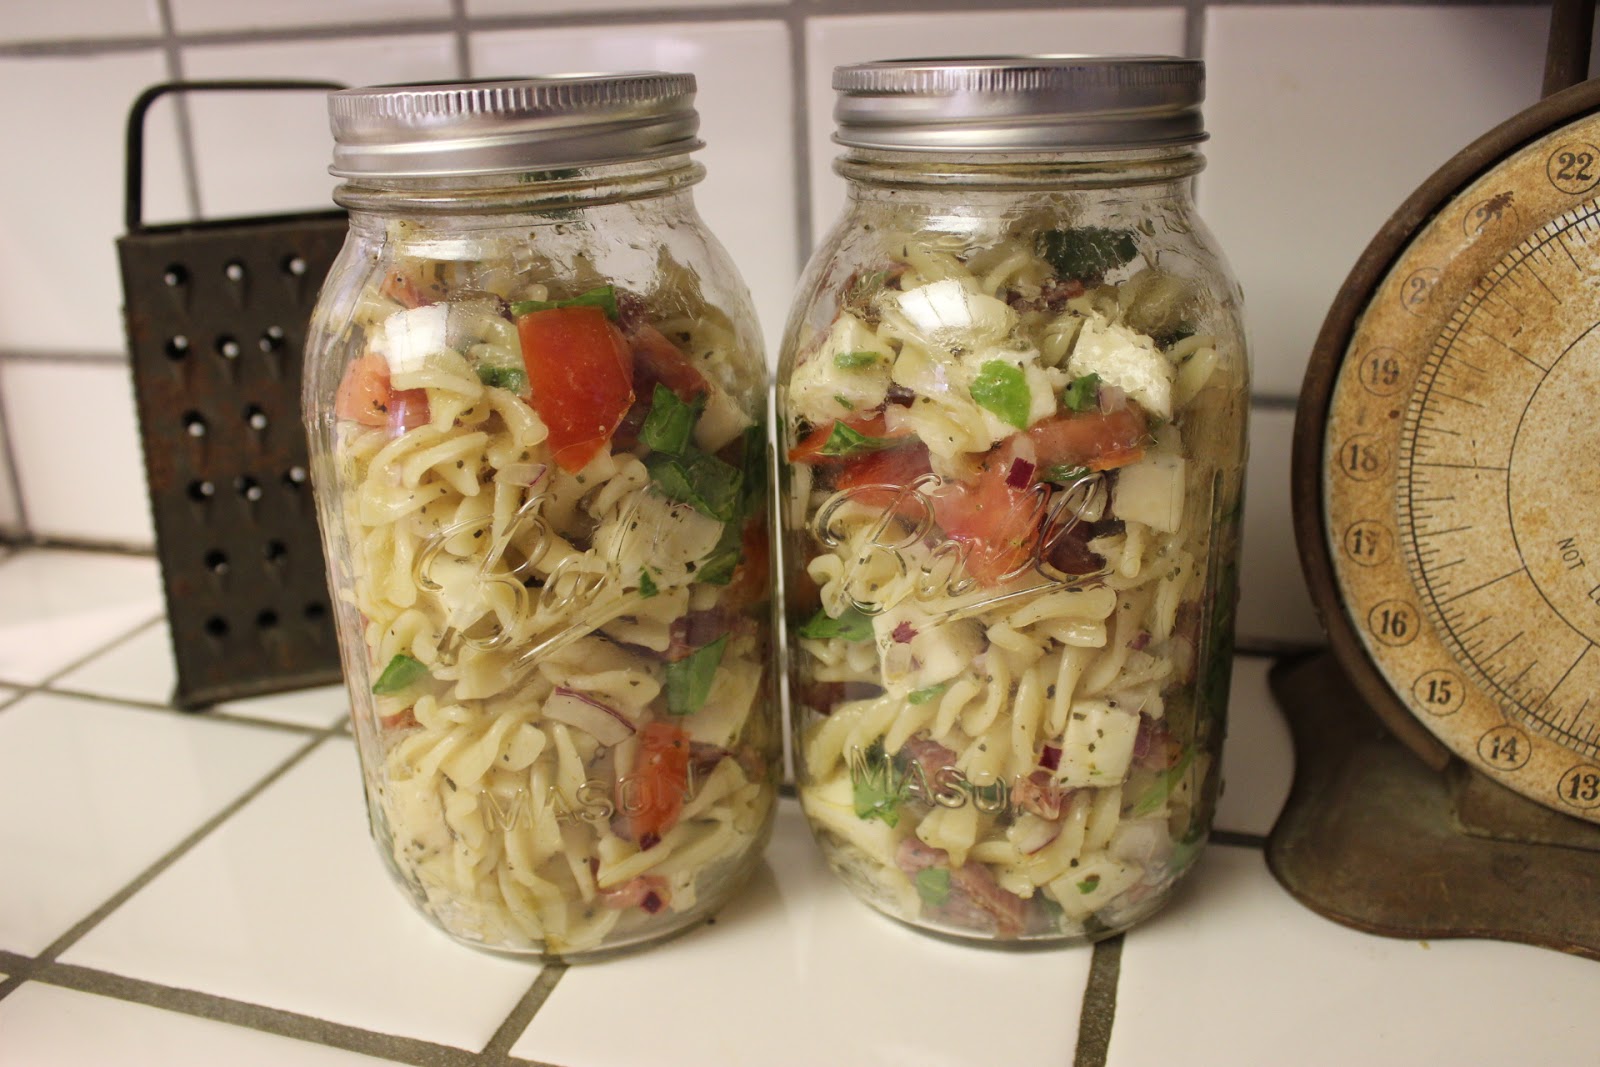
We are still vegetarian (for all those doubted we could stick to it lol) and loving it more and more. I've never FELT better. I've found lots of new recipes, and am enjoying cooking even more. I will have to start doing recipe blogs again. Hopefully. lol.
In about a month it will have been a year since we moved to the ranch. I enjoy it, but its tiresome, and a lot of work. Especially now that its getting bloody hot again, by the time I do my chores outside and I come in, I'm SO done lol. My horse has been having lameness issues though so I haven't been able to ride her as much. Now she can only walk, which is ok, I just enjoying getting on her and walking around. My mom had back surgery a few months ago and cannot ride for at least a year. So Im in charge of riding/working her horse now. He is a pain in my side for sure. But he's getting better and listening to me more. He likes to push my buttons because Im NOT my mom. I started trail riding around town again. My horse is horrible on trail but my moms is doing pretty good! I havent gone out on the trail since I was probably 11-12. So its kind of nice to do it again!
My dad has been making horse shoe signs/animals the past few months and we originally had him list his stuff on my Etsy store.(
www.etsy.com/shop/caseyleecrafts ). BUT, he stuff did SO well, we decided to make him his own store on Etsy (
www.etsy.com/shop/willcapps ) and its been going great! He has me in charge of taking pictures/listing/running the store because he said he just wants to make the stuff lol. :) Its been fun, and he gets a kick out of doing it. We have even gone to a few craft shows as well!


.JPG)


